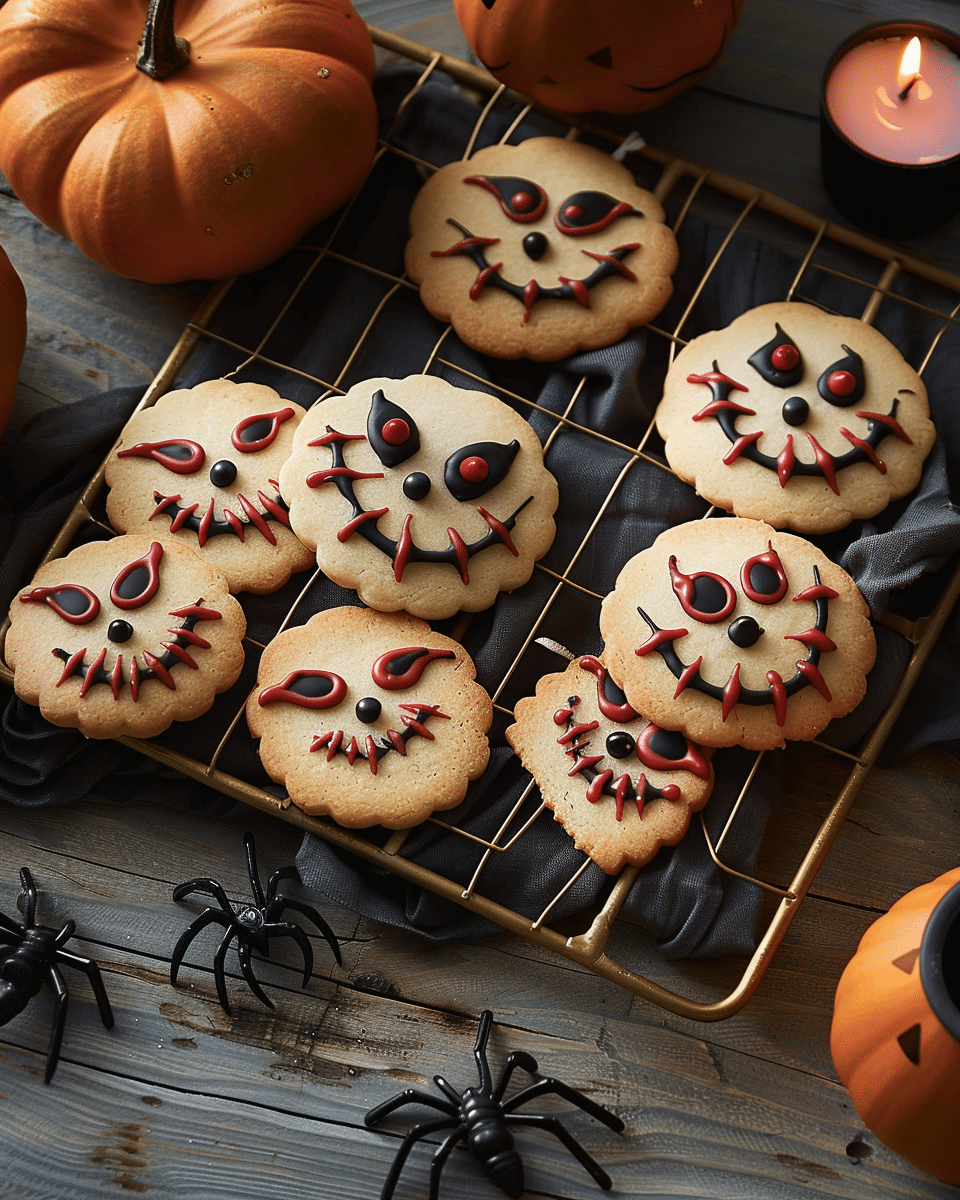
These cookies aren’t just adorable—they’re also delicious. The dough is easy to work with and holds its shape well, making it ideal for spooky cookie cutter designs like ghosts, pumpkins, bats, and spiders. You can decorate them with royal icing, candy eyes, or colored sugar for a truly creepy effect. They’re perfect for parties, trick-or-treaters, or a family baking day.
Ingredients
(Tip: You’ll find the full list of ingredients and measurements in the recipe card below.)
All-purpose flour
Baking powder
Salt
Unsalted butter
Granulated sugar
Egg
Vanilla extract
Almond extract (optional)
Gel food coloring (optional)
Royal icing or buttercream (for decorating)
Sprinkles, candy eyes, or colored sugar (for garnish)
Directions
In a medium bowl, whisk together flour, baking powder, and salt. Set aside.
In a large bowl, cream the butter and sugar together until light and fluffy.
Add the egg, vanilla extract, and almond extract if using. Mix until combined.
Gradually add the dry ingredients to the wet ingredients, mixing until a soft dough forms.
Divide the dough in half, flatten into discs, and wrap in plastic wrap. Chill for at least 1 hour.
Preheat the oven to 350°F (175°C). Line baking sheets with parchment paper.
Roll out the dough on a lightly floured surface to about 1/4-inch thickness.
Use Halloween-themed cookie cutters to cut shapes and transfer them to the baking sheets.
Bake for 8–10 minutes or until edges are just lightly golden. Let cool on the sheet for a few minutes before transferring to a wire rack.
Once cooled, decorate with royal icing, buttercream, or sprinkles as desired.
Servings and timing
This recipe makes about 24 cookies, depending on the size of your cookie cutters. Prep time: 20 minutes Chill time: 1 hour Bake time: 10 minutes Decorating time: 30–60 minutes Total time: About 2 hours
Variations
Chocolate version: Add cocoa powder to the dough for a chocolaty twist.
Pumpkin spice cookies: Add cinnamon, nutmeg, and cloves for a seasonal flavor.
Glow-in-the-dark look: Use neon food coloring or edible glitter for an eerie effect.
Stuffed cookies: Place a small piece of chocolate or candy inside each cookie before baking.
Monster cookies: Mix M&Ms or candy eyeballs into the dough for monster-inspired treats.
Vegan option: Use dairy-free butter and a flax egg to make the recipe vegan-friendly.
Storage/Reheating
Store decorated cookies in an airtight container at room temperature for up to 5 days. If undecorated, cookies can be frozen for up to 2 months—just thaw and decorate when ready. To keep icing fresh, allow it to dry completely before stacking.
FAQs
Can I make the dough ahead of time?
Yes, you can make the dough up to 3 days in advance. Keep it tightly wrapped in the fridge.
Can I freeze the cookies?
Absolutely. Undecorated cookies freeze best. Let them cool completely, then store in an airtight container or freezer bag.
What kind of icing works best?
Royal icing is ideal for detailed decorations, but buttercream works well for simple designs.
How do I keep the cookies from spreading?
Chilling the dough before baking helps the cookies keep their shape.
Can I color the dough?
Yes, gel food coloring works best as it doesn’t add extra moisture.
How long should I let the icing dry?
Royal icing typically takes 6–8 hours to fully dry, depending on humidity.
What cookie cutters should I use?
Classic Halloween shapes like pumpkins, bats, ghosts, spiders, cats, and skulls work great.
Can kids help with decorating?
Definitely! It’s a great activity for kids—just prep the icing and decorations ahead of time.
Can I make these cookies gluten-free?
Yes, use a 1:1 gluten-free flour blend designed for baking.
What’s the best way to package these for gifts?
Let the icing dry completely, then layer cookies between sheets of wax paper in a decorative tin or box.
Conclusion
Spooky Halloween cookies bring creativity and flavor to your Halloween celebrations. With their delightful designs and customizable decorations, they’re as fun to make as they are to eat. Whether you’re handing them out to trick-or-treaters or serving them at a party, these cookies are sure to enchant everyone who sees—and tastes—them.
Spooky Halloween Cookies are festive sugar cookies perfect for the Halloween season. With fun shapes like ghosts, pumpkins, and bats, they’re easy to make, hold their shape well, and are ideal for decorating with icing, sprinkles, and candy eyes.
Author:Catherine
Prep Time:20 minutes
Cook Time:10 minutes
Total Time:2 hours
Yield:About 24 cookies
Category:Dessert
Method:Baking
Cuisine:American
Diet:Vegetarian
Ingredients
2 3/4 cups all-purpose flour
1 tsp baking powder
1/2 tsp salt
1 cup unsalted butter, softened
1 cup granulated sugar
1 large egg
1 tsp vanilla extract
1/2 tsp almond extract (optional)
Gel food coloring (optional)
Royal icing or buttercream (for decorating)
Sprinkles, candy eyes, or colored sugar (for garnish)
Instructions
In a medium bowl, whisk together the flour, baking powder, and salt. Set aside.
In a large bowl, cream together the butter and sugar until light and fluffy.
Add the egg, vanilla extract, and almond extract (if using) and mix until well combined.
Gradually add the dry ingredients to the wet mixture, mixing until a soft dough forms.
Divide the dough in half, shape into discs, wrap in plastic wrap, and chill for at least 1 hour.
Preheat the oven to 350°F (175°C) and line baking sheets with parchment paper.
Roll out chilled dough on a lightly floured surface to 1/4-inch thickness.
Use Halloween-themed cookie cutters to cut out shapes and transfer to baking sheets.
Bake for 8–10 minutes or until edges are lightly golden. Let cool on the baking sheet for a few minutes, then transfer to a wire rack to cool completely.
Once cooled, decorate with royal icing, buttercream, sprinkles, candy eyes, or colored sugar as desired.
Notes
Chill the dough thoroughly to prevent cookies from spreading.Royal icing works best for detailed decorations; allow to dry completely before stacking.Use gel food coloring to tint dough or icing without altering texture.Store cookies in an airtight container at room temperature for up to 5 days.Undecorated cookies can be frozen for up to 2 months.


