These bars are incredibly easy to make, don’t require baking, and can be customized with your favorite mix-ins. They’re great for lunchboxes, after-school snacks, or even a quick breakfast on the go. The combination of chewy oats and smooth chocolate makes for a decadent yet nourishing bite, and they store well for days.
Ingredients
(Tip: You’ll find the full list of ingredients and measurements in the recipe card below.)
Old-fashioned rolled oats
Peanut butter (or almond butter)
Honey or maple syrup
Semi-sweet or dark chocolate chips
Butter or coconut oil
Vanilla extract
Salt (optional)
Directions
Line an 8×8-inch baking dish with parchment paper or lightly grease it.
In a medium saucepan over low heat, melt the peanut butter, honey (or maple syrup), and butter together, stirring until smooth.
Remove from heat and stir in vanilla extract and salt, if using.
Add the oats and mix until evenly coated.
Press half of the oat mixture into the prepared pan and smooth into an even layer.
In a microwave-safe bowl, melt the chocolate chips in 20-second intervals, stirring between each, until smooth.
Pour the melted chocolate over the oat layer and spread evenly.
Press the remaining oat mixture on top of the chocolate layer, gently pressing it down.
Refrigerate for at least 2 hours or until firm.
Cut into bars and serve.
Servings and timing
This recipe yields about 12–16 bars, depending on size. Prep time: 10 minutes Chill time: 2 hours Total time: 2 hours 10 minutes
Variations
Use almond butter, cashew butter, or sunflower seed butter for a different flavor.
Add shredded coconut, chopped nuts, or dried fruit for texture.
Use white chocolate or a swirl of dark and milk chocolate.
Mix in chia seeds or flaxseeds for added nutrition.
Make them vegan by using plant-based butter and dairy-free chocolate chips.
Storage/Reheating
Store bars in an airtight container in the refrigerator for up to 1 week. They can also be frozen for up to 2 months — place parchment between layers to prevent sticking. No reheating needed; serve straight from the fridge or at room temperature.
FAQs
Can I use quick oats instead of rolled oats?
Yes, but the texture will be softer. Rolled oats provide a chewier bite.
Can I make these nut-free?
Yes, use sunflower seed butter or a nut-free alternative to peanut butter.
How do I keep the bars from falling apart?
Be sure to press the layers firmly into the pan and chill thoroughly before cutting.
Can I reduce the sugar?
You can reduce the honey or use less sweet chocolate, but it may affect the texture and binding.
Do I need to melt the chocolate separately?
Yes, this helps create a distinct chocolate layer. Alternatively, mix it directly into the oat mixture for a fully blended bar.
Are these bars gluten-free?
They can be if you use certified gluten-free oats and check all other ingredient labels for gluten content.
Can I double the recipe?
Yes, just use a larger pan (like 9×13) and extend the chilling time slightly.
Can I use cocoa powder instead of chocolate chips?
Cocoa powder alone won’t provide the same texture, but you can make a chocolate mixture by combining cocoa with coconut oil and sweetener.
Why is my chocolate layer hard to cut?
Let the bars sit at room temperature for 5–10 minutes before slicing to soften slightly.
Are these good for kids?
Yes, they’re kid-friendly, easy to eat, and made with simple ingredients.
Conclusion
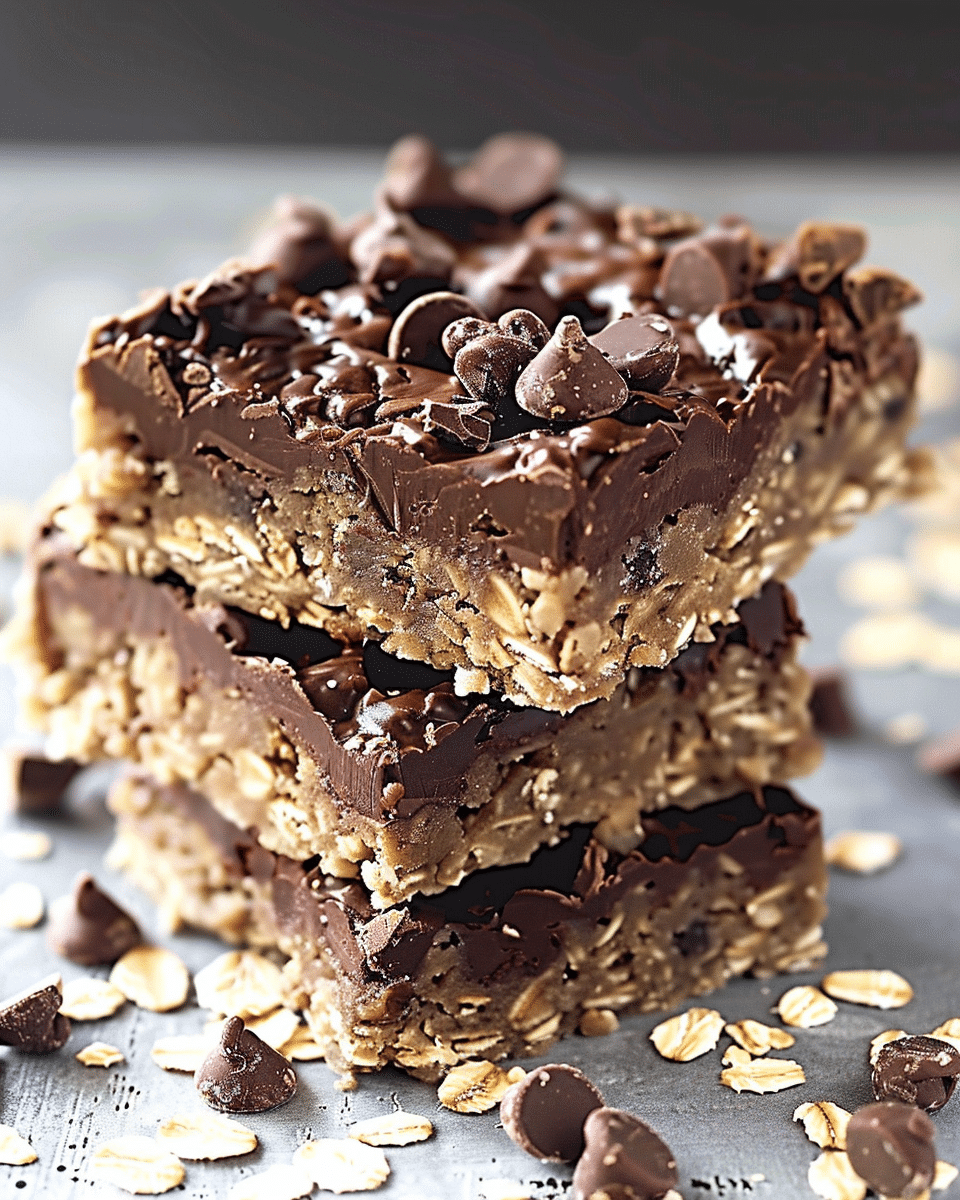
No Bake Chocolate Oatmeal Bars are the perfect solution when you want a sweet, satisfying treat without turning on the oven. With their chewy texture, chocolatey richness, and endless customization options, these bars are a hit for kids and adults alike. Quick to make and easy to store, they’re bound to become a go-to favorite in your recipe collection.
No Bake Chocolate Oatmeal Bars are a quick and easy treat made with rolled oats, chocolate, and peanut butter. With no oven required, these chewy, satisfying bars are perfect for snacks, lunchboxes, or a healthy dessert.
Author:Catherine
Prep Time:10 minutes
Cook Time:0 minutes
Total Time:2 hours 10 minutes (including chill time)
Yield:12–16 bars
Category:Snack
Method:No Bake
Cuisine:American
Diet:Gluten Free
Ingredients
2 1/2 cups old-fashioned rolled oats
3/4 cup peanut butter (or almond butter)
1/2 cup honey or maple syrup
1/4 cup butter or coconut oil
1 tsp vanilla extract
1/4 tsp salt (optional)
1 cup semi-sweet or dark chocolate chips
Instructions
Line an 8×8-inch baking dish with parchment paper or lightly grease it.
In a medium saucepan over low heat, melt peanut butter, honey (or maple syrup), and butter together, stirring until smooth.
Remove from heat and stir in vanilla extract and salt, if using.
Stir in the rolled oats until evenly coated.
Press half of the oat mixture firmly into the bottom of the prepared pan.
In a microwave-safe bowl, melt the chocolate chips in 20-second intervals, stirring between each, until smooth.
Spread the melted chocolate evenly over the oat base.
Gently press the remaining oat mixture on top of the chocolate layer.
Refrigerate for at least 2 hours, or until firm.
Cut into bars and serve chilled or at room temperature.
Notes
Use certified gluten-free oats to make the recipe gluten-free.Swap peanut butter for any nut or seed butter as needed.For extra texture, mix in chopped nuts, dried fruit, or shredded coconut.Store with parchment paper between layers to prevent sticking.Let bars sit at room temperature for 5–10 minutes before slicing for easier cutting.


