Why You’ll Love This Recipe
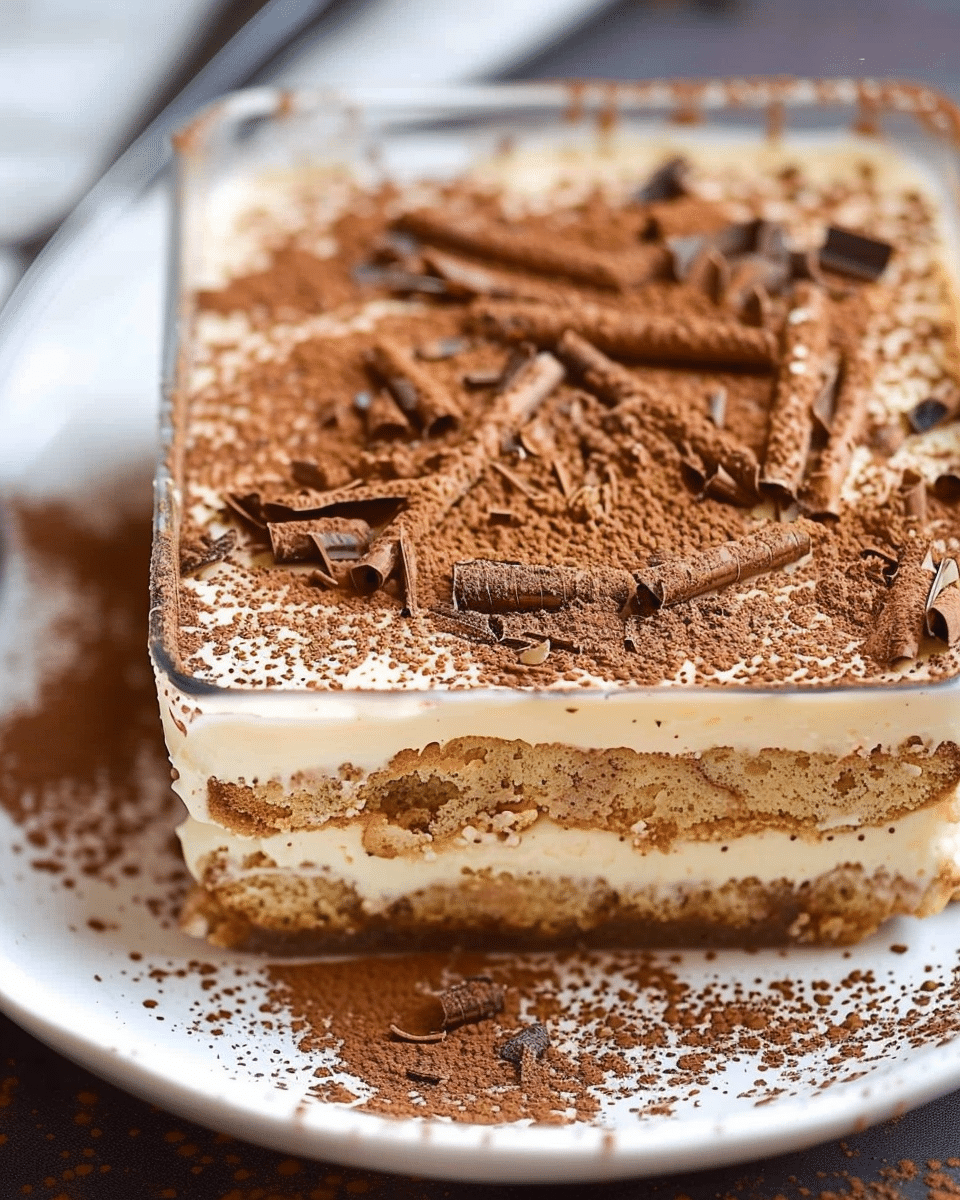
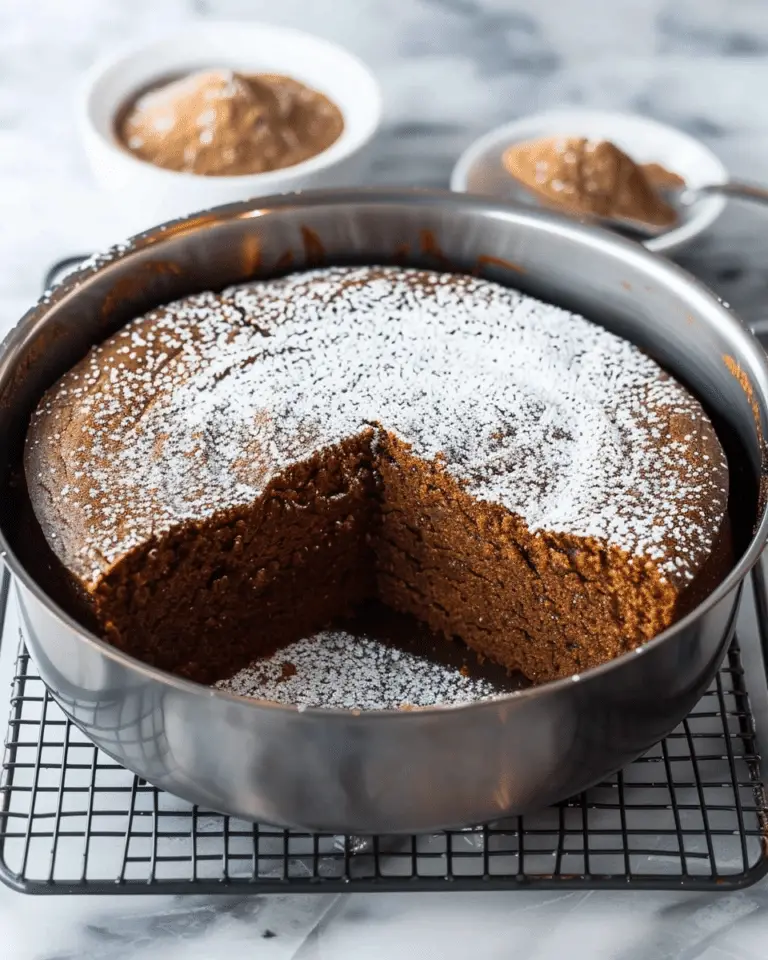
This gluten-free tiramisu is the perfect balance of creamy, sweet, and bold flavors. The coffee-soaked ladyfingers are layered with a smooth mascarpone filling, making each bite melt in your mouth. The rich cocoa powder topping adds the final touch of flavor that completes this indulgent dessert. It’s easy to make ahead, so it’s perfect for gatherings or special occasions. Plus, it’s completely gluten-free, making it suitable for those with dietary restrictions, while still keeping the authentic flavors and textures of the traditional tiramisu.
Ingredients
-
1 cup strong brewed coffee, cooled
-
3 tbsp coffee liqueur (optional)
-
2 tbsp maple syrup or honey (optional, for extra sweetness)
-
1 pack gluten-free ladyfingers (store-bought or homemade)
-
8 oz mascarpone cheese, softened
-
1 1/2 cups heavy whipping cream
-
1/4 cup powdered sugar
-
1 tsp vanilla extract
-
2 tbsp cocoa powder, for dusting
-
Dark chocolate shavings (optional, for garnish)
(Tip: You’ll find the full list of ingredients and measurements in the recipe card below.)
Directions
-
In a shallow dish, combine the cooled coffee and coffee liqueur (if using). Stir in the maple syrup or honey for added sweetness. Set aside.
-
In a medium bowl, beat the mascarpone cheese until smooth using an electric mixer or a whisk.
-
In a separate large bowl, beat the heavy whipping cream with the powdered sugar and vanilla extract until soft peaks form. Be careful not to over-beat.
-
Gently fold the whipped cream into the mascarpone cheese mixture until well combined, creating a light and airy filling.
-
Briefly dip each gluten-free ladyfinger into the coffee mixture, making sure not to soak them completely—just a quick dip so they don’t get soggy.
-
In a 9×9-inch or similar-sized dish, lay down the dipped ladyfingers in a single layer, covering the bottom of the dish.
-
Spread half of the mascarpone filling over the ladyfingers, smoothing it into an even layer.
-
Add another layer of dipped ladyfingers, followed by the remaining mascarpone filling. Smooth the top layer evenly.
-
Cover the tiramisu with plastic wrap and refrigerate for at least 4 hours or overnight to let the flavors meld and the dessert set.
-
Before serving, dust the top of the tiramisu with cocoa powder and garnish with dark chocolate shavings (if using).
Servings and Timing
-
Servings: 8
-
Prep Time: 20 minutes
-
Refrigeration Time: 4 hours (or overnight)
-
Total Time: 4 hours 20 minutes (or overnight)
Variations
-
Non-Alcoholic Version: Omit the coffee liqueur and use a bit of extra brewed coffee or vanilla extract in the coffee mixture for flavor.
-
Vegan Tiramisu: Use dairy-free mascarpone and coconut cream or cashew cream as a substitute for heavy whipping cream.
-
Chocolate Tiramisu: Add a layer of chocolate ganache between the ladyfingers and mascarpone filling for a chocolatey twist.
-
Fruit Tiramisu: Add a layer of fresh berries like raspberries or strawberries for a refreshing fruity version of tiramisu.
Storage/Reheating
Store any leftover gluten-free tiramisu in an airtight container in the refrigerator for up to 3-4 days. It’s best served chilled, and the flavors will continue to develop over time. However, it is not suitable for freezing, as the texture may change upon thawing.
FAQs
1. Can I make this tiramisu dairy-free?
Yes, you can make a dairy-free version by using dairy-free mascarpone and a non-dairy whipped cream alternative such as coconut cream.
2. Can I use regular ladyfingers instead of gluten-free ones?
No, regular ladyfingers contain gluten, but you can find gluten-free ladyfingers at specialty stores or make your own using gluten-free flour.
3. Can I make this tiramisu ahead of time?
Yes, in fact, tiramisu tastes best when it’s made ahead of time and allowed to chill for several hours or overnight. The flavors meld together and improve after resting.
4. How do I know when my tiramisu is ready to serve?
Your tiramisu should be fully chilled and firm enough to hold its shape when sliced. Make sure the layers are set before serving.
5. Can I add more layers to the tiramisu?
Yes, you can add additional layers of ladyfingers and mascarpone filling if your dish allows for it, but be sure not to overcrowd the layers.
6. How do I make homemade gluten-free ladyfingers?
Homemade gluten-free ladyfingers can be made using gluten-free flour blends and egg whites. You can find many recipes online for a DIY version.
Conclusion
Gluten Free Tiramisu is a show-stopping dessert that everyone can enjoy, whether they have dietary restrictions or not. This rich and creamy treat combines the best of traditional tiramisu flavors with a gluten-free twist, making it the perfect ending to any meal. With layers of coffee-soaked ladyfingers, a light mascarpone filling, and a dusting of cocoa, this dessert is indulgent, satisfying, and sure to impress your guests. Easy to make and customizable, this gluten-free tiramisu will become your new favorite dessert!
Gluten Free Tiramisu
Gluten Free Tiramisu is a decadent, coffee-soaked dessert with layers of creamy mascarpone filling and a dusting of cocoa powder, made accessible for those avoiding gluten without sacrificing taste or texture.
- Prep Time: 20 minutes
- Cook Time: undefined
- Total Time: 4 hours 20 minutes (or overnight)
- Yield: 8 servings
- Category: Dessert
- Method: No-bake
- Cuisine: Italian
- Diet: Gluten Free
Ingredients
- 1 cup strong brewed coffee, cooled
- 3 tbsp coffee liqueur (optional)
- 2 tbsp maple syrup or honey (optional, for extra sweetness)
- 1 pack gluten-free ladyfingers (store-bought or homemade)
- 8 oz mascarpone cheese, softened
- 1 1/2 cups heavy whipping cream
- 1/4 cup powdered sugar
- 1 tsp vanilla extract
- 2 tbsp cocoa powder, for dusting
- Dark chocolate shavings (optional, for garnish)
Instructions
- In a shallow dish, combine the cooled coffee and coffee liqueur (if using). Stir in the maple syrup or honey for added sweetness. Set aside.
- In a medium bowl, beat the mascarpone cheese until smooth using an electric mixer or a whisk.
- In a separate large bowl, beat the heavy whipping cream with the powdered sugar and vanilla extract until soft peaks form. Be careful not to over-beat.
- Gently fold the whipped cream into the mascarpone cheese mixture until well combined, creating a light and airy filling.
- Briefly dip each gluten-free ladyfinger into the coffee mixture, making sure not to soak them completely—just a quick dip so they don’t get soggy.
- In a 9×9-inch or similar-sized dish, lay down the dipped ladyfingers in a single layer, covering the bottom of the dish.
- Spread half of the mascarpone filling over the ladyfingers, smoothing it into an even layer.
- Add another layer of dipped ladyfingers, followed by the remaining mascarpone filling. Smooth the top layer evenly.
- Cover the tiramisu with plastic wrap and refrigerate for at least 4 hours or overnight to let the flavors meld and the dessert set.
- Before serving, dust the top of the tiramisu with cocoa powder and garnish with dark chocolate shavings (if using).
Notes
For a non-alcoholic version, omit the coffee liqueur and use extra brewed coffee or vanilla extract.If you’d like a vegan version, use dairy-free mascarpone and coconut cream or cashew cream for the whipped cream.This dessert is best when made ahead and allowed to chill for at least 4 hours or overnight.You can customize this tiramisu by adding layers of fresh berries or a chocolate ganache layer.Store leftovers in an airtight container in the fridge for up to 3-4 days.
Nutrition
- Serving Size: 1 slice
- Calories: 310
- Sugar: 18g
- Sodium: 80mg
- Fat: 20g
- Saturated Fat: 12g
- Unsaturated Fat: 7g
- Trans Fat: 0g
- Carbohydrates: 28g
- Fiber: 1g
- Protein: 4g
- Cholesterol: 60mg

