This cherry pie filling comes together quickly with just a handful of ingredients. It’s perfect for pies, crisps, tarts, and more. You can control the sweetness, the thickness, and even the texture—whether you like whole cherries or a smoother consistency. Plus, it stores well, making it easy to prepare ahead of time.
Ingredients
(Tip: You’ll find the full list of ingredients and measurements in the recipe card below.)
Fresh or frozen cherries (pitted)
Granulated sugar
Cornstarch
Water
Lemon juice
Almond extract (optional for added depth of flavor)
Directions
In a saucepan over medium heat, combine the sugar and cornstarch. Stir in the water gradually until smooth.
Add the cherries and bring the mixture to a boil, stirring frequently.
Reduce the heat and let it simmer until the mixture thickens and the cherries are tender, about 10 minutes.
Remove from heat and stir in the lemon juice and almond extract, if using.
Let the filling cool before using, or transfer to a container for storage.
Servings and timing
This recipe makes approximately 2½ to 3 cups of cherry pie filling, enough for one standard 9-inch pie. Prep time: 10 minutes Cook time: 10–15 minutes Total time: 20–25 minutes
Variations
Tart cherries: Use sour cherries for a more tangy filling and adjust sugar to taste.
Canned cherries: If fresh or frozen cherries aren’t available, canned cherries (in water or juice, not syrup) work well.
Sugar alternatives: Substitute honey, maple syrup, or a sugar replacement for a lower-sugar version.
Flavor twist: Add a pinch of cinnamon or nutmeg for a spiced cherry filling.
Smooth texture: Blend part of the filling before adding lemon juice for a smoother consistency.
Storage/Reheating
Store cooled cherry pie filling in an airtight container in the refrigerator for up to 5 days. For longer storage, freeze it in a freezer-safe container or zip-top bag for up to 3 months. To reheat, warm gently on the stovetop or in the microwave until heated through, stirring occasionally.
FAQs
How do I thicken cherry pie filling without cornstarch?
You can use arrowroot powder or tapioca starch as an alternative thickener. Flour can also work in a pinch.
Can I use frozen cherries directly?
Yes, frozen cherries can be used straight from the freezer. You may need to simmer the mixture slightly longer to account for the extra moisture.
What kind of cherries are best for pie filling?
Both sweet and tart cherries work well. Tart cherries give a more traditional pie flavor, while sweet cherries make the filling richer and sweeter.
Can I make this filling in advance?
Absolutely. Cherry pie filling can be made several days ahead and stored in the fridge or freezer until ready to use.
How do I know when the filling is thick enough?
The filling should coat the back of a spoon and hold its shape when stirred. It will also thicken slightly as it cools.
Is lemon juice necessary?
Lemon juice balances the sweetness and enhances the cherry flavor. It also helps the filling set properly, so it’s highly recommended.
Can I use this filling for other desserts?
Yes! It’s great on pancakes, cheesecake, ice cream, and even toast.
Why add almond extract?
Almond extract complements the cherry flavor and gives the filling a classic, bakery-style taste.
Can I can this cherry pie filling?
Yes, but make sure to follow safe canning guidelines and use clear jel instead of cornstarch, as cornstarch is not recommended for canning.
Why is my filling runny?
If the filling is too runny, it may not have cooked long enough or may need more thickener. Simmer a few minutes longer or add a small slurry of cornstarch and water.
Conclusion
This cherry pie filling is a must-have recipe for every home baker. It’s simple, flavorful, and adaptable, making it perfect for a wide variety of desserts. Once you try making it from scratch, you may never go back to the canned version again.
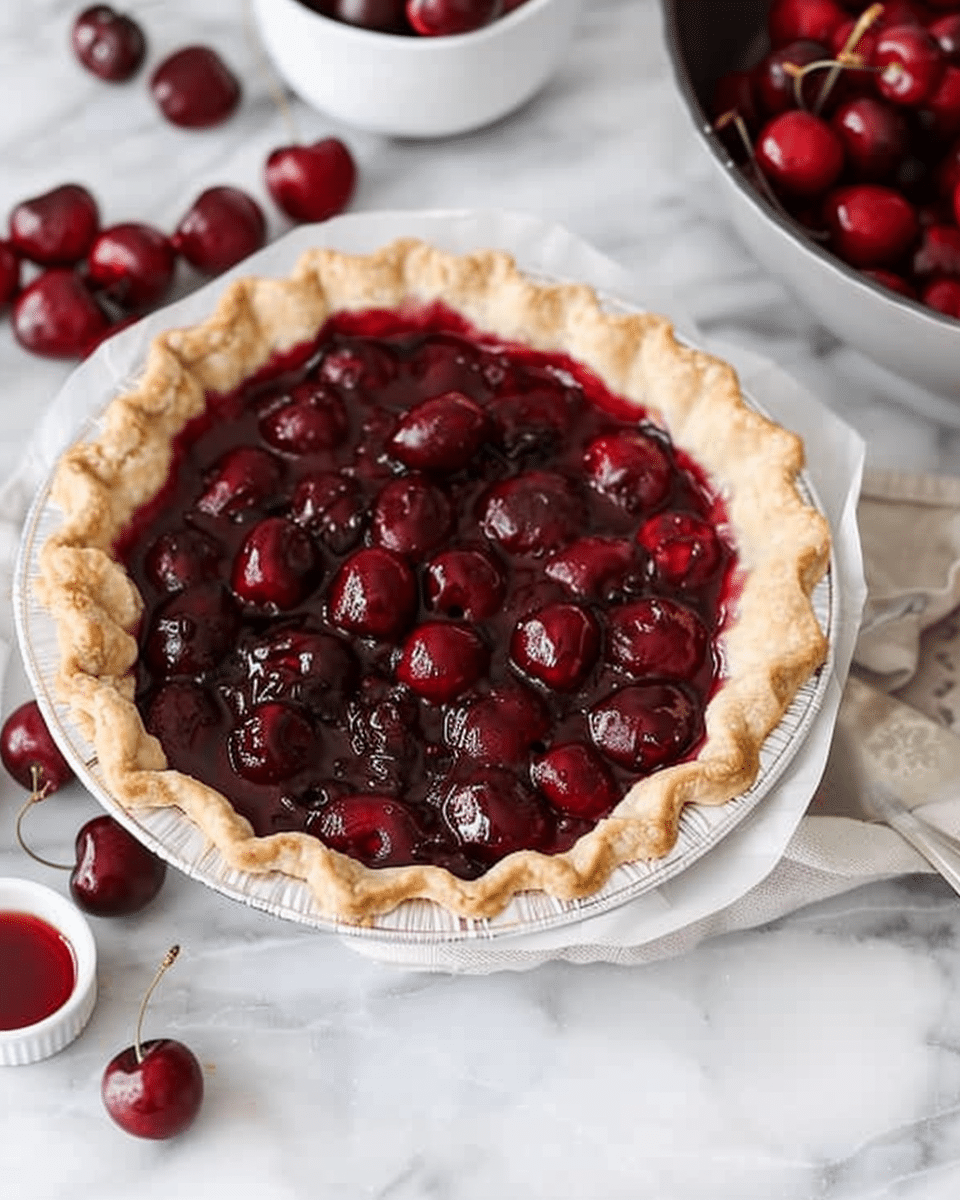
This homemade cherry pie filling is rich, glossy, and bursting with sweet-tart cherry flavor. Perfect for pies, cheesecakes, yogurt, or any dessert that needs a fruity touch, it’s easy to make and far better than store-bought.
Author:Catherine
Prep Time:10 minutes
Cook Time:15 minutes
Total Time:25 minutes
Yield:2½ to 3 cups (fills one 9-inch pie)
Category:Dessert
Method:Stovetop
Cuisine:American
Diet:Vegetarian
Ingredients
4 cups fresh or frozen cherries, pitted
3/4 cup granulated sugar
3 tablespoons cornstarch
1/2 cup water
1 tablespoon lemon juice
1/4 teaspoon almond extract (optional)
Instructions
In a saucepan over medium heat, whisk together the sugar and cornstarch.
Gradually stir in the water until the mixture is smooth.
Add the pitted cherries and bring the mixture to a boil, stirring frequently.
Reduce the heat and simmer until the mixture thickens and cherries are tender, about 10 minutes.
Remove from heat and stir in the lemon juice and almond extract, if using.
Let the filling cool before using, or transfer to an airtight container for storage.
Notes
Use tart cherries for a more traditional, tangy flavor and adjust sugar as needed.Canned cherries (in juice or water) can be used if fresh or frozen are unavailable.For a smoother consistency, blend part of the filling before adding lemon juice.Add a pinch of cinnamon or nutmeg for a spiced variation.Store in the fridge for up to 5 days or freeze for up to 3 months.


